On March 26-27, we held a sew-in for the Columbus Neighborhood Group. We are a local Neighborhood Group of the Indianapolis Chapter of the American Sewing Guild (www.indyasg.org; www.asg.org).
We had a wonderful time and plan on doing another one in the fall. We have a great facility (courtesy of the Bartholomew County REMC) that we are able to use for our meetings and they graciously allowed us to use it for an entire weekend. What made it extra special is there is a full kitchen so we had pitch-ins for lunches on both Saturday and Sunday. About three quarters of our members were able to come spend some time sewing for at least part of the weekend. I've posted pictures below.
I would recommend trying this for your Neighborhood Group if you can. It is a great opportunity for fellowship and sharing and just relaxing.
Sunday, April 24, 2011
Saturday, February 26, 2011
Thangles Buck a Block - Getting Closer to Finishing
I had an opportunity this past weekend for some rest and relaxation and nonstop sewing. It was time once again for the quilt retreat hosted by Sharynn's Quilt Box (North Vernon, Indiana) at the Clifty Falls Inn in Madison, Indiana. I had a wonderful time, as usual, and look forward to going to her next one in September.
I worked mainly on this Thangles Buck a Block Program from 2008 (Series 5). I think this is probably the 4th retreat where I've worked on at least some portion of these blocks. Now all I need to do is the borders, but I haven't quite decided what I want to do yet. The finishing instructions call for an 11" border, but I really want to do something pieced. I'm thinking a small red border to start. I'll plug it into EQ and see what I can come up with. Maybe I'll have it figured out by the next retreat in September and can continue working on it, but I'd really like to get it done before then now that it is this far. Just once I would like to be able to show a "finished" project when they do show and tell!
I have no idea what I'll do with this once it is finished as I have nothing in my house that is red, white and black. Maybe I'll have to redecorate a room! I'm sure that would go over big with the husband!
I worked mainly on this Thangles Buck a Block Program from 2008 (Series 5). I think this is probably the 4th retreat where I've worked on at least some portion of these blocks. Now all I need to do is the borders, but I haven't quite decided what I want to do yet. The finishing instructions call for an 11" border, but I really want to do something pieced. I'm thinking a small red border to start. I'll plug it into EQ and see what I can come up with. Maybe I'll have it figured out by the next retreat in September and can continue working on it, but I'd really like to get it done before then now that it is this far. Just once I would like to be able to show a "finished" project when they do show and tell!
I have no idea what I'll do with this once it is finished as I have nothing in my house that is red, white and black. Maybe I'll have to redecorate a room! I'm sure that would go over big with the husband!
Sunday, February 13, 2011
Applique - Accuquilt Go! Cutter
Things have gotten crazy nuts at work again, so I've been able to spend very little time sewing or creating. One of the little things I've been able to do is one small appliqué project. The heart was cut on the Accuquilt Go! cutter using the heart die. The Go! certainly speeds things up for applique, and if you have an embroidery machine, you can be done in no time. For the heart I used a pre-digitized design from the Shapes embroidery collection from Accuquilt. I did add lettering from the built-in letters on the Bernina 830 before I stitched the design out. Fabric was pre-fused with appliqué stabilizer before cutting. It took a total of about 5 minutes from beginning to the final embroidery stitch. The notebook cover took about an hour to complete.
I've also been playing some with digitizing some of the shapes myself in the Designer Plus Version 6 software. This is my final test stitch out for the Arabesque die. I plan to make a table runner using this design, but that will have to wait until there is more time.
Saturday, January 22, 2011
Another Groovy Girls Club Project Completed
Am I very late or am I very early? I prefer to think I'm very early. I recently completed a Halloween table topper using Atkinson Designs pattern called Happy Holidays. I bought fabric probably 4 years ago to make a Halloween table runner, and when I saw this pattern, I knew it was just perfect for this project.
The pattern gives directions for three sizes, small (20x23"), medium (30x35") and large (40x47"). The large is big enough to make into a tree skirt, and it gives the directions on how to do that. The size I made for my Halloween table topper is the medium.
I wanted to quilt it with some type of Halloween or fall quilting embroidery design on my Bernina 830, and found the perfect design in my collection. The one I used was from Designs Sew Fine from Quilt Collection 1. There are three sizes of the spider web, and I used the largest, which fit nicely into the Jumbo hoop. I used a metallic thread that was a black and silver twist. I was very happy with the results. The picture above is a closeup of the stitchout of the design. With the precise embroidery positioning of the Bernina 830, I was able to get my designs exactly where I wanted them.
I really look forward to attending Groovy Girls Club meetings at Shiisa Quilts in Bloomington, Indiana. I always come away with great ideas and inspiration. The projects are small enough and don't require big chunks of time, which is perfect for me.
The pattern gives directions for three sizes, small (20x23"), medium (30x35") and large (40x47"). The large is big enough to make into a tree skirt, and it gives the directions on how to do that. The size I made for my Halloween table topper is the medium.
I wanted to quilt it with some type of Halloween or fall quilting embroidery design on my Bernina 830, and found the perfect design in my collection. The one I used was from Designs Sew Fine from Quilt Collection 1. There are three sizes of the spider web, and I used the largest, which fit nicely into the Jumbo hoop. I used a metallic thread that was a black and silver twist. I was very happy with the results. The picture above is a closeup of the stitchout of the design. With the precise embroidery positioning of the Bernina 830, I was able to get my designs exactly where I wanted them.
Below is the finished topper, binding and all. This was a great, quick project, and only took a few hours to complete from beginning to end.
I really look forward to attending Groovy Girls Club meetings at Shiisa Quilts in Bloomington, Indiana. I always come away with great ideas and inspiration. The projects are small enough and don't require big chunks of time, which is perfect for me.
Friday, January 14, 2011
Small Projects
Right now I am really loving doing small projects. It is such a sense of accomplishment in an otherwise too busy and hectic life. I hope to take on some larger projects before too long, and get back into some clothing making and finish some quilts. I certainly have enough projects lined up to keep me busy for the rest of the year (and beyond....) on that front.
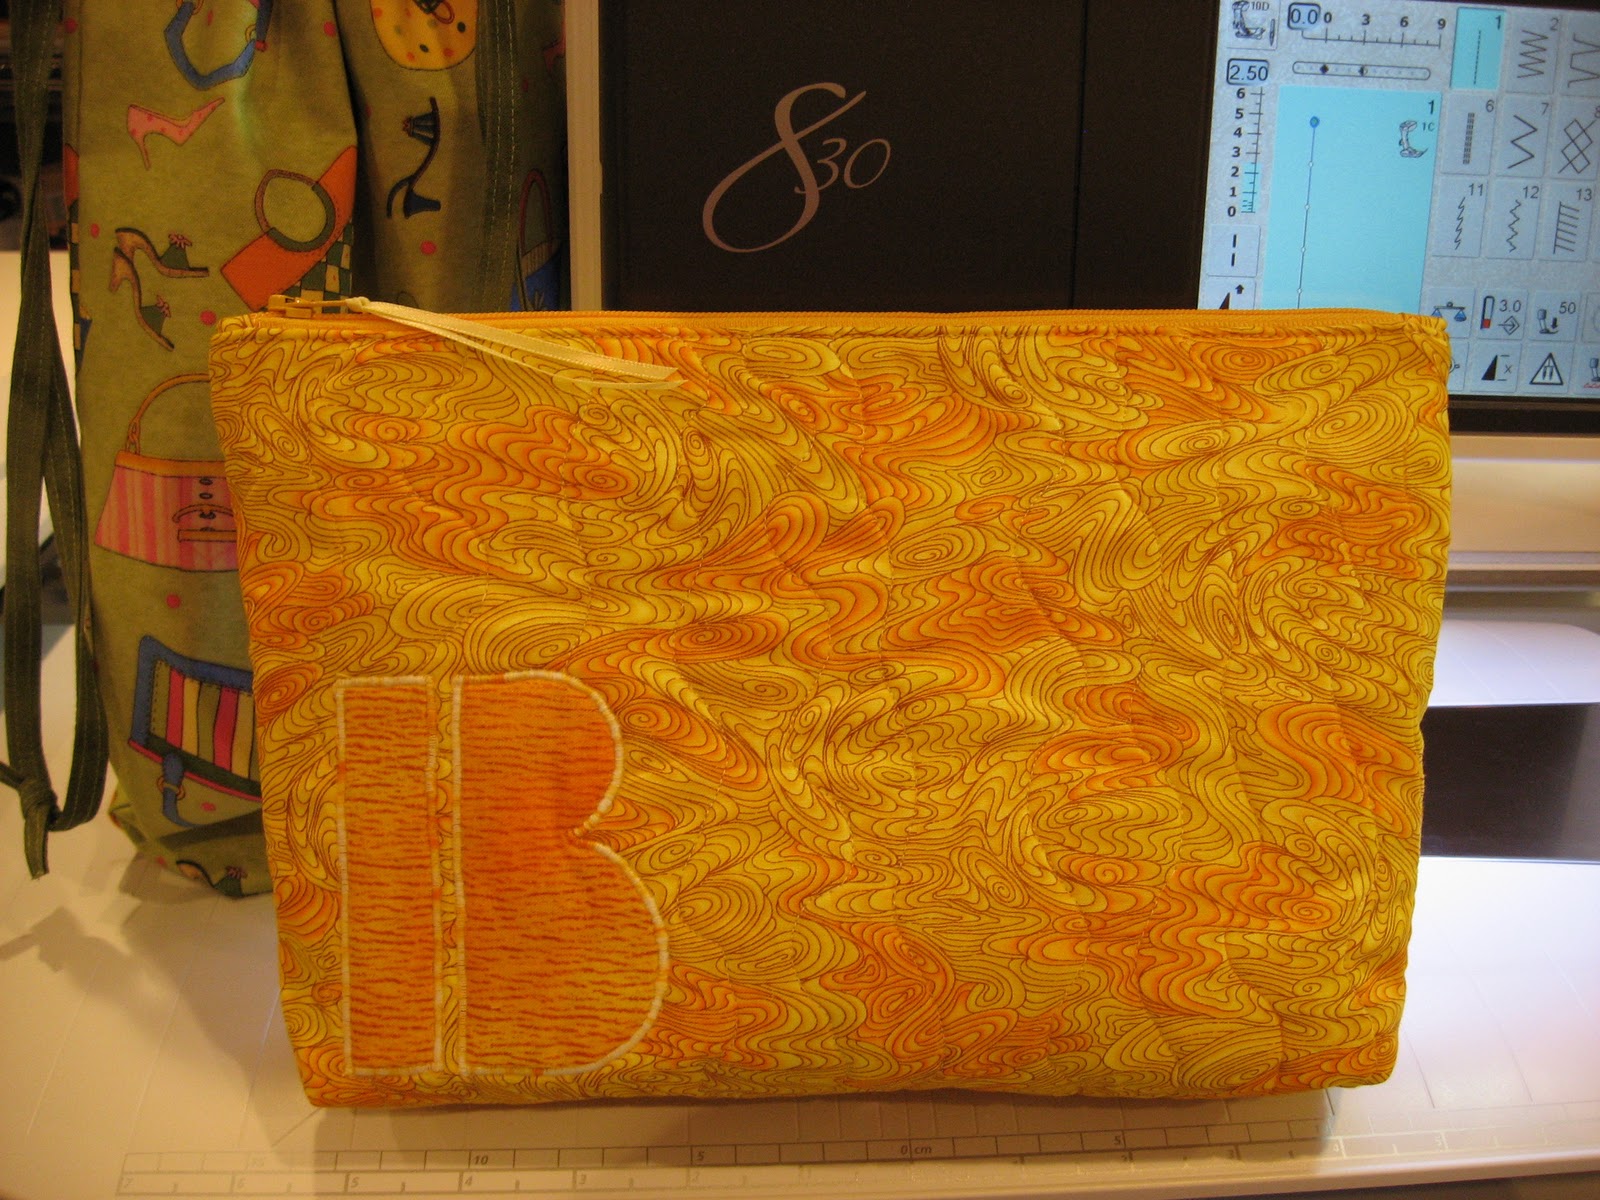
The beauty of doing small projects is I can try different and new techniques, they don't take huge chunks of time, and I have something useful at the end. In the zippered bag below I've used new techniques for the zipper installation and for the machine appliquéd letter. I also did a little free motion quilting. This pattern is from Atkinson Designs book called Fat Quarter Fonts.
The drawstring bag below is also from Atkinson, and she uses a cool technique for doing the casing for the drawstring. I can see a lot of these in the future - they will make great gifts and are a canvas for some embroidery, an appliquéd design or decorative stitches before the final construction phase. This one I made for myself as a shoe bag out of fun fabric I had in the stash.
This past weekend I finished a Halloween table topper, and I'll post about it later. The inspiration for all came from the Groovy Girls Club meetings at Shiisa Quilts in Bloomington, Indiana.
Have a great weekend and do some sewing!
Monday, January 10, 2011
Billie's Favorite Things - Update on Clip It Up
I thought I'd give an update on one of my favorite things - my Clip It Up by Simply Renee. Since my original post, I have continued my organizing and I've added a lot more Clip It Ups. These things are so HABIT FORMING, you can't have just one! I have now added a mini, two more base units with upper tiers (one with an upper tier extension), a floor stand, and a ribbon holder. I have been trying over the last couple of years to really get my sewing/quilting space organized, and with the Clip It Ups, I can really say I think I'm there. I am so happy with how these worked out for my space and organization. I can't give them enough praise!
Below are some pictures of my additional units and what I've used them for.
This is a base unit and upper tier that I am using for my purse/tote/bag/wallet patterns on the bottom and my purse hardware/supplies on the upper tier.
Floor Model with an extra tier. These are larger sewing notions/patterns that are too big or bulky for the regular base unit.
Mini with miscellaneous sewing notions. This one is located in between my cutting table and ironing workstation.
Base unit with upper tier and extension. This one I am using for sewing patterns.
Ribbon organizer.
I have this on the wall over my ironing station.
Most everything pictured on these was in drawers or stuffed in plastic containers. They are now out and handy and I can find what I am looking for in an instant. I'm in heaven! It is amazing how much more creative you feel when you've got an organized space to work in. Now if I could just translate that to the rest of my life!
Tuesday, December 28, 2010
Atkinson Designs - Molten Chocolate Cake Mugs
For the last two months I have been participating in the Groovy Girls Club at Shiisa Quilts in Bloomington, Indiana. The projects featured in the GGC are from Atkinson Designs. All of the projects have been super easy, super fast, and I love them. One of the ones featured at our December meeting was the Molten Chocolate Cake Mugs. The instructions are available here on Terry's Blog. Above are the ones I made up to give to the gals I work with, and they loved them!
There are all kinds of tutorials on Terry's Blog, so spend some time reading through the blog entries, and be sure you click next at the bottom of each screen.
Subscribe to:
Posts (Atom)